How to Prepare Concrete Floors Before Installing New Tiles
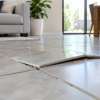
A successful tile installation begins long before the first tile is laid. The condition of the concrete floor underneath determines how well the tiles will bond, how level the finished surface will be, and how long the floor will last. Skipping or rushing the preparation stage is one of the most common reasons tiles crack, lift or develop hollow spots later.
At Aussie Tradies Group we prepare concrete floors carefully on every tiling project across Australia. Proper preparation creates a stable, clean and level base that supports a durable tiled finish. Visit https://atgltd.com.au/ to learn more about our tiling and flooring services.
This guide explains the essential steps to prepare a concrete floor so new tiles perform well for years.
Assess the Existing Concrete
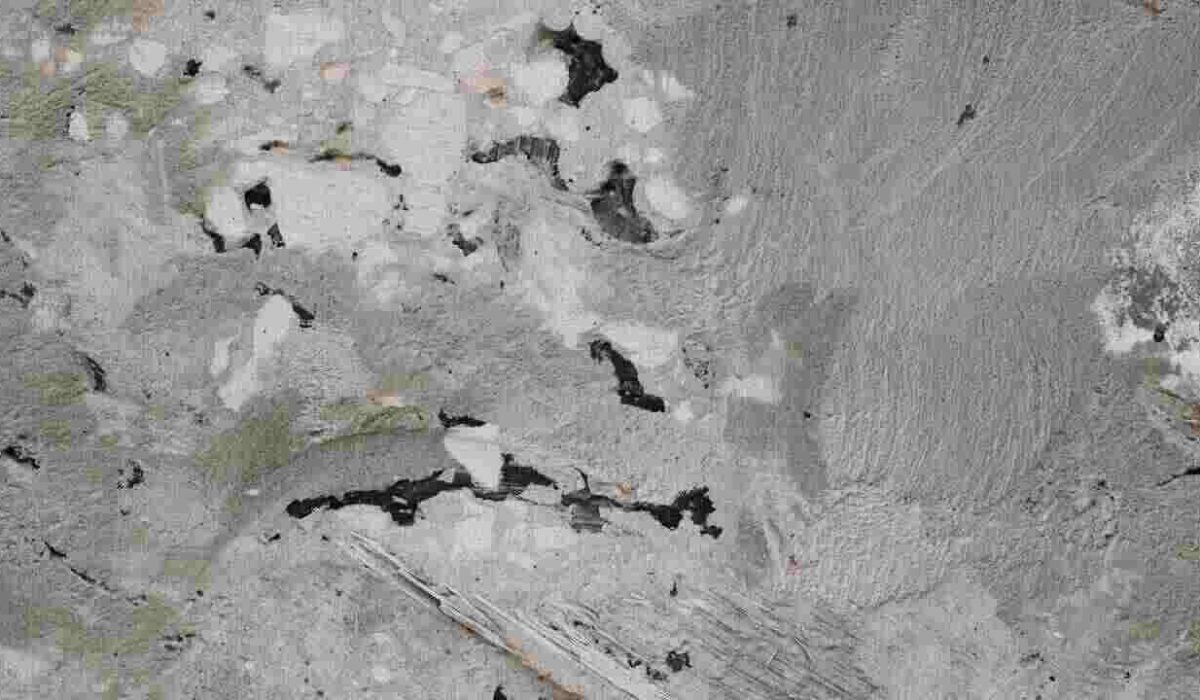
Start by examining the concrete slab thoroughly. Look for cracks, uneven areas, soft spots, old adhesive residue, paint, sealers or curing compounds. Check for signs of moisture such as dark patches, efflorescence or a musty smell. Tap the surface in several places to detect hollow or delaminated sections.
Measure the flatness of the floor. Use a long straight edge or laser level to identify high and low spots. Most tile manufacturers require the substrate to be flat within a few millimetres over a given length. Significant deviations will need correction before tiling begins.
Note the age and condition of the slab. New concrete must cure fully, usually for at least 28 days, before tiling. Older slabs may have surface contamination or damage that needs attention.
Repair Cracks and Damage
Address structural cracks first. Fine hairline cracks can often be filled with a flexible crack isolation membrane or suitable filler. Wider or active cracks may require professional assessment, as they can indicate movement in the slab. In some cases a crack isolation membrane is installed across the entire floor to reduce the risk of cracks transferring through to the tiles.
Remove any loose or crumbling concrete. Fill voids and spalled areas with a suitable repair mortar designed for flooring applications. Allow repairs to cure fully according to the product instructions before continuing.
Clean the Surface Thoroughly
A clean surface is essential for good adhesion. Remove all dust, dirt, grease, oil, paint, old adhesive, curing compounds and sealers. These materials prevent the tile adhesive from bonding properly to the concrete.
Mechanical methods such as grinding, shot blasting or scarifying are often the most effective ways to clean and profile the surface. For lighter contamination, thorough sweeping, vacuuming and washing with a suitable detergent may be sufficient, followed by complete rinsing and drying.
Avoid leaving any residue behind. Even a thin film of dust or cleaner can weaken the bond. After cleaning, vacuum the floor carefully to remove fine particles.
Check and Manage Moisture
Concrete slabs can hold moisture that later causes adhesive failure, efflorescence or mould under the tiles. Test the moisture level using appropriate methods such as a moisture meter or calcium chloride test. Follow the adhesive and tile manufacturer guidelines for acceptable moisture content.
If moisture levels are too high, allow more drying time or install a suitable moisture barrier or waterproofing membrane. In wet areas such as bathrooms and laundries, a waterproofing system is usually required regardless of the measured moisture level.
Good ventilation and, if needed, dehumidifiers can help dry the slab more quickly. Never install tiles over a damp slab.
Level and Smooth the Floor
An uneven concrete floor leads to lippage, cracked tiles and poor adhesive coverage. Use a self levelling compound or a traditional screed to correct high and low areas. Choose a product compatible with the subsequent tile adhesive and suitable for the expected traffic load.
Prime the concrete according to the levelling compound instructions before pouring. Work in sections if the area is large, and follow the recommended thickness limits. Allow the levelling layer to cure fully before moving to the next stage.
For minor irregularities, a thin coat of suitable patching compound may be enough. Always check the finished surface with a straight edge to confirm it meets the required tolerance.
Create the Right Surface Profile
Tile adhesives need a slightly textured surface to bond effectively. Overly smooth concrete, such as a steel trowelled finish, often requires mechanical preparation to create a suitable profile. Grinding or light shot blasting opens the surface and removes weak laitance.
After profiling, remove all dust by vacuuming. A clean, slightly rough surface gives the adhesive the best chance of forming a strong mechanical bond.
Apply Primer When Required
Many modern tile adhesives and levelling compounds perform better when the concrete is primed. Primer improves adhesion, seals dusty surfaces and reduces the risk of the substrate drawing water too quickly from the adhesive.
Select a primer recommended by the adhesive manufacturer and apply it evenly. Allow it to dry to the specified condition before spreading the tile adhesive. Skipping primer on porous or dusty concrete is a common cause of later bond failure.
Plan for Movement Joints
Concrete slabs expand and contract with temperature and moisture changes. Tiled floors need movement joints to accommodate this movement. Identify existing structural joints in the slab and plan to continue them through the tile installation. Additional movement joints may be required in large areas, at changes of direction, or where the floor meets walls and columns.
Mark these locations clearly so they are not covered during tiling. Using the correct joint sealant and detailing at these points protects the tiled surface from stress related cracking.
Final Inspection Before Tiling
Once all preparation work is complete, inspect the floor one last time. Confirm it is clean, dry, level, sound and free of contaminants. Check that repairs have cured, primers have dried and any membranes are fully installed. Remove any remaining dust with a final vacuum.
Only when the substrate meets the required standards should tiling begin. Rushing this stage almost always leads to problems that are far more expensive to fix later.
Why Preparation Matters
Properly prepared concrete gives the tile adhesive a stable, clean and level surface to bond to. This reduces the risk of hollow tiles, cracking, lippage and premature failure. It also makes the installation process smoother and helps the finished floor look professional.
Cutting corners on preparation may save a small amount of time at the start, yet it frequently results in callbacks, repairs and dissatisfied clients. Investing in thorough preparation protects both the appearance and the longevity of the tiled floor.
Professional Support
Preparing a concrete floor correctly requires knowledge of materials, moisture behaviour and the specific requirements of different tile types. Experienced tilers understand how local conditions, slab age and intended use influence the preparation methods needed.
At Aussie Tradies Group our team follows proven preparation processes on every project. We assess the slab, repair defects, control moisture, level the surface and create the right conditions for a strong, lasting tile installation. Visit https://atgltd.com.au/ to discuss your tiling project and benefit from professional preparation and installation.
Final Thoughts
Preparing a concrete floor before installing new tiles is not an optional extra. It is the foundation of a successful result. Assess the slab carefully, repair damage, clean thoroughly, manage moisture, level the surface, create a suitable profile and install any required primers or membranes. Take the time to do each step properly.
When the concrete is ready, the tiles can be installed with confidence. The finished floor will look better, perform longer and require fewer repairs over its lifetime. For expert preparation and tiling services, contact Aussie Tradies Group at https://atgltd.com.au/ and ensure your new tiled floor starts on a solid base.